
Step-by-Step Roof Replacement Process for Eugene Oregon Homeowners
TLDR / Key Takeaway
The roof replacement process for Eugene Oregon homeowners follows a clear sequence: inspection, estimate, preparation, tear-off, installation, final inspection, and cleanup. Knowing what happens at each step helps homeowners plan, avoid surprises, and feel confident throughout the project.
Step 1: Roof Inspection and Initial Consultation
Every roof replacement starts with a professional inspection. During this step, a roofing contractor evaluates the condition of the existing roof, including shingles, flashing, ventilation, and roof decking. In Eugene, moisture intrusion, moss growth, and storm exposure are common issues that are carefully assessed.
The inspection helps determine whether full replacement is necessary and identifies any underlying damage that must be addressed before installation begins. Homeowners also have the opportunity to ask questions and discuss material options during this stage.
Step 2: Detailed Roof Replacement Estimate
After the inspection, a detailed written estimate is provided. This estimate outlines the scope of work, roofing materials, labor, timeline, and any potential repairs needed once the old roof is removed.
For Eugene homeowners, a clear estimate is critical. It ensures there are no surprises once the project begins and allows homeowners to compare options confidently. A professional estimate should explain not just the price, but what is included in the roofing system.
Step 3: Scheduling and Project Preparation
Once the estimate is approved, the roof replacement is scheduled. Before work begins, the roofing crew prepares the property by protecting landscaping, driveways, and nearby structures.
Material delivery and crew scheduling are coordinated to keep the project efficient. In Eugene, weather conditions are also monitored closely to ensure installation is completed safely and properly.
Step 4: Roof Tear-Off and Deck Inspection
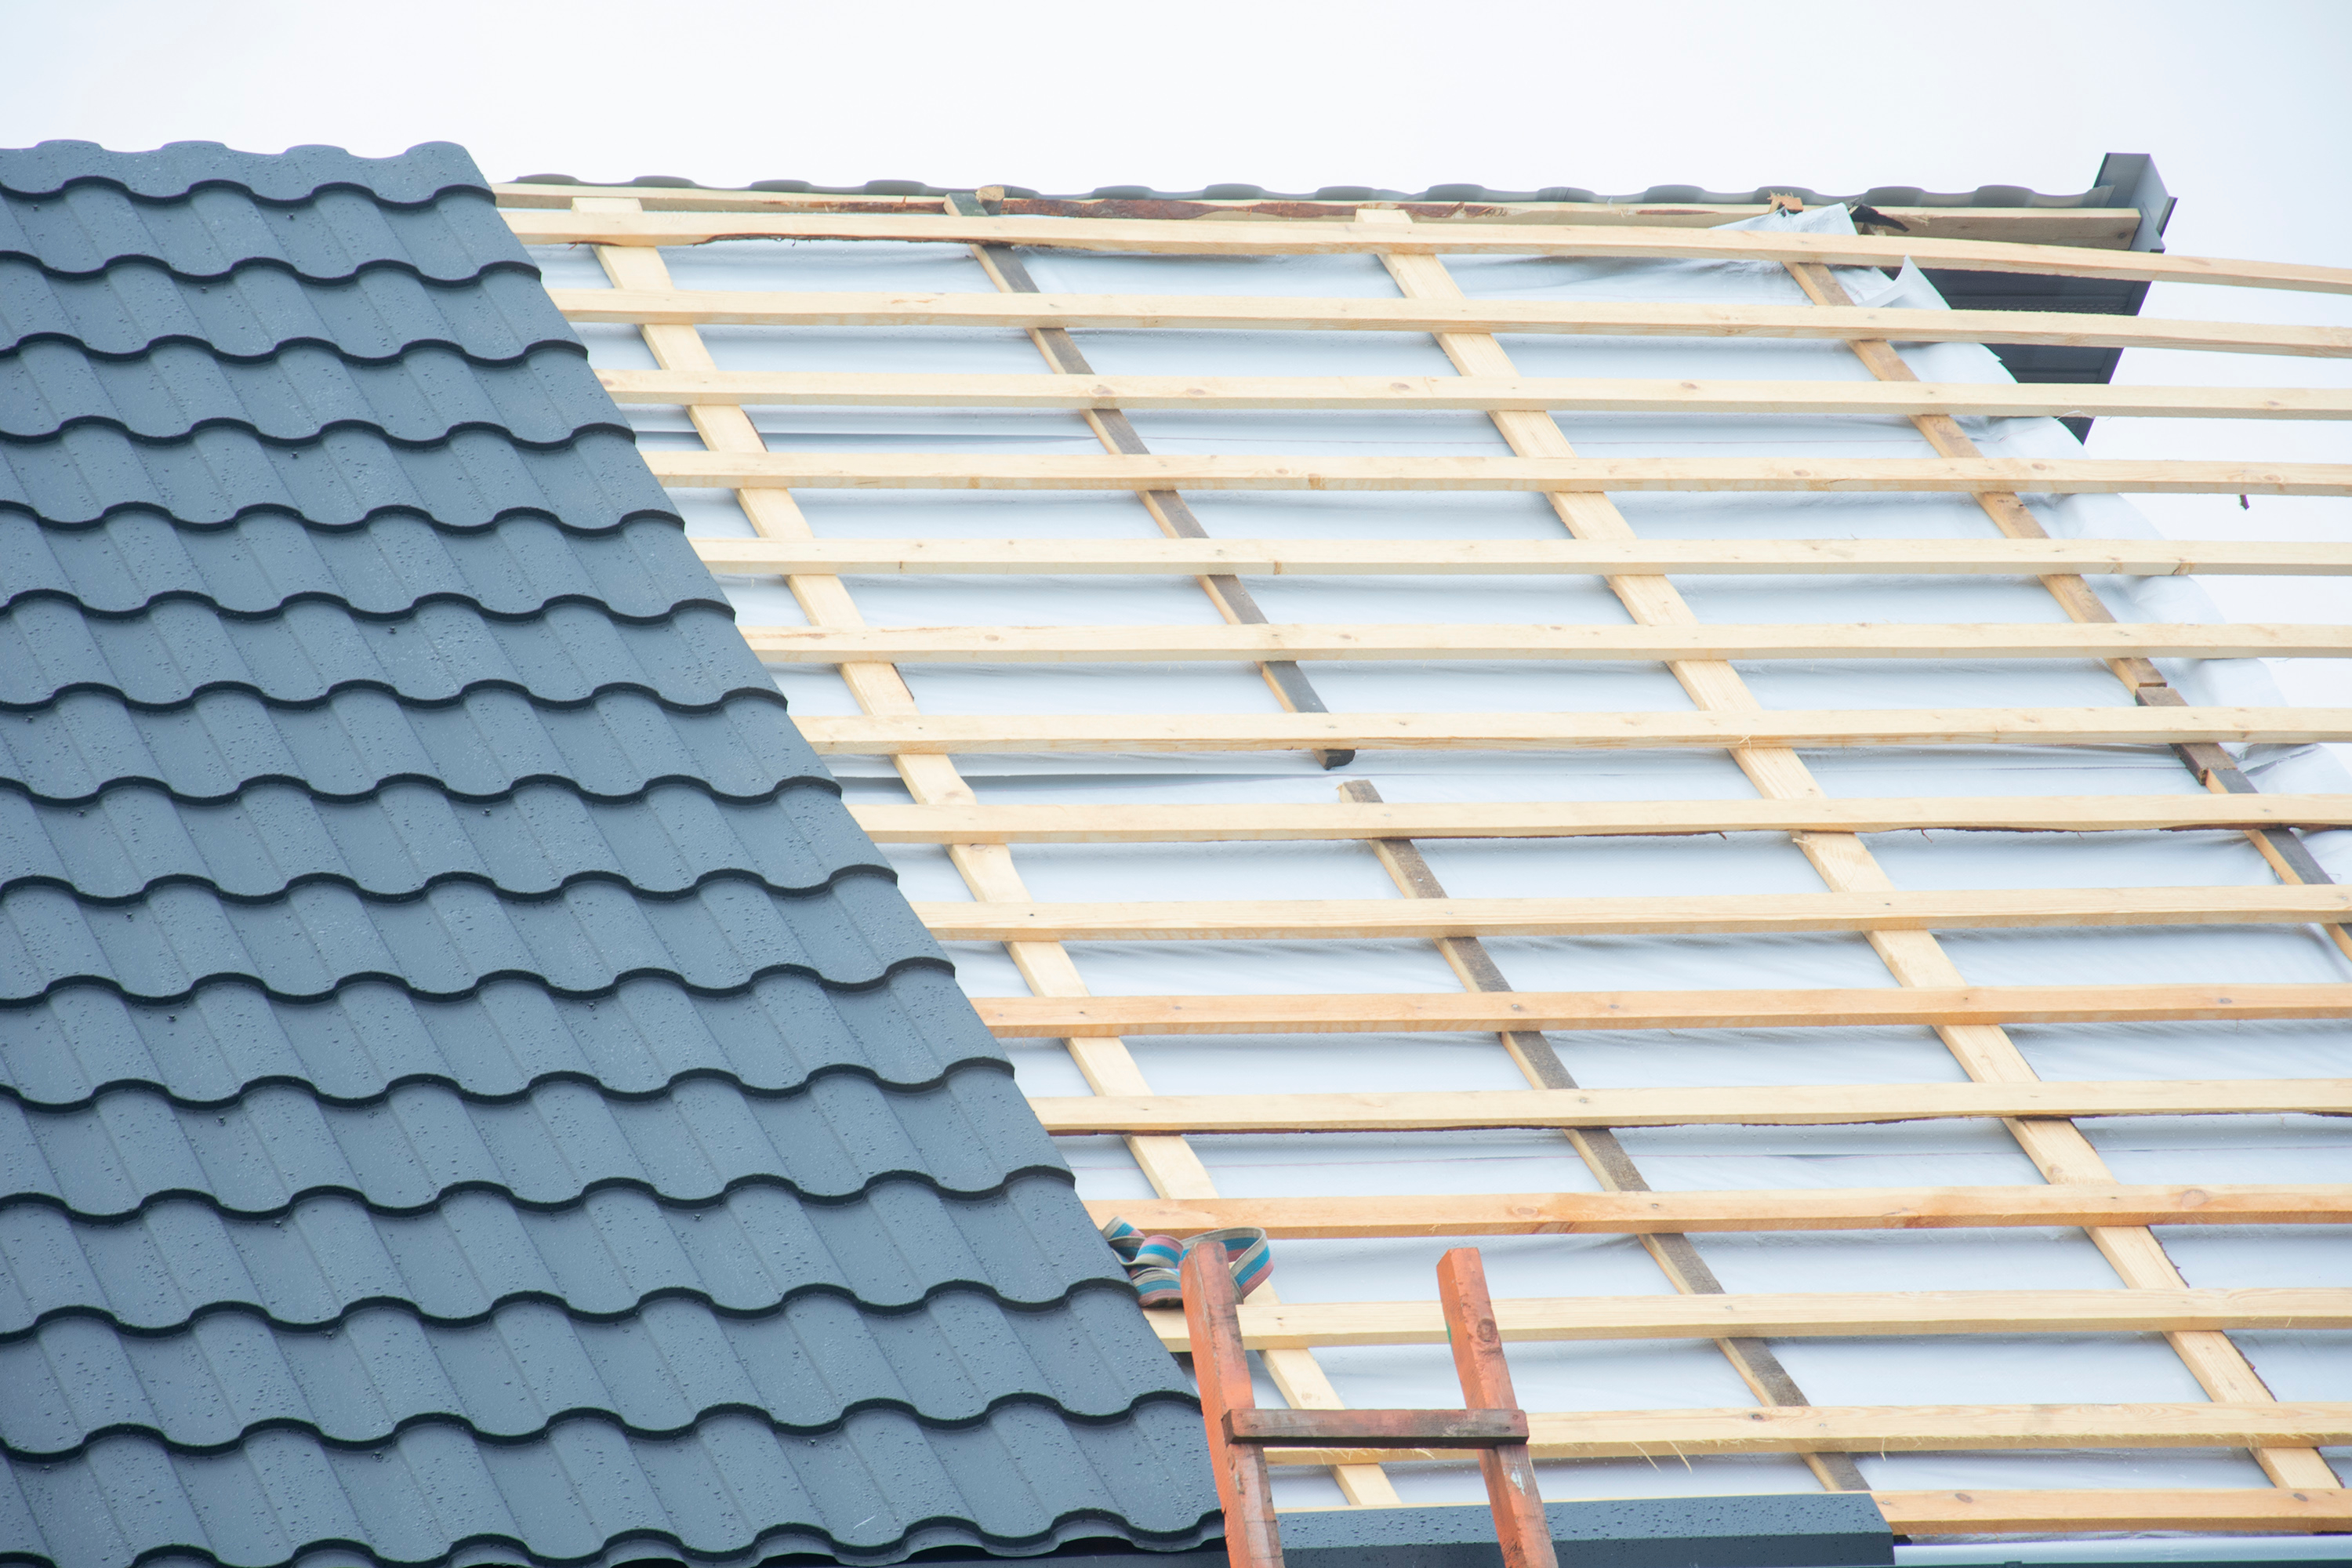
The next step is removing the existing roofing materials. This tear-off process exposes the roof deck, allowing contractors to inspect it for rot, water damage, or structural issues.
Any damaged decking is repaired or replaced at this stage. Addressing these issues before installing the new roof is essential for long-term performance, especially in Oregon’s wet climate.
Step 5: Installing the New Roofing System
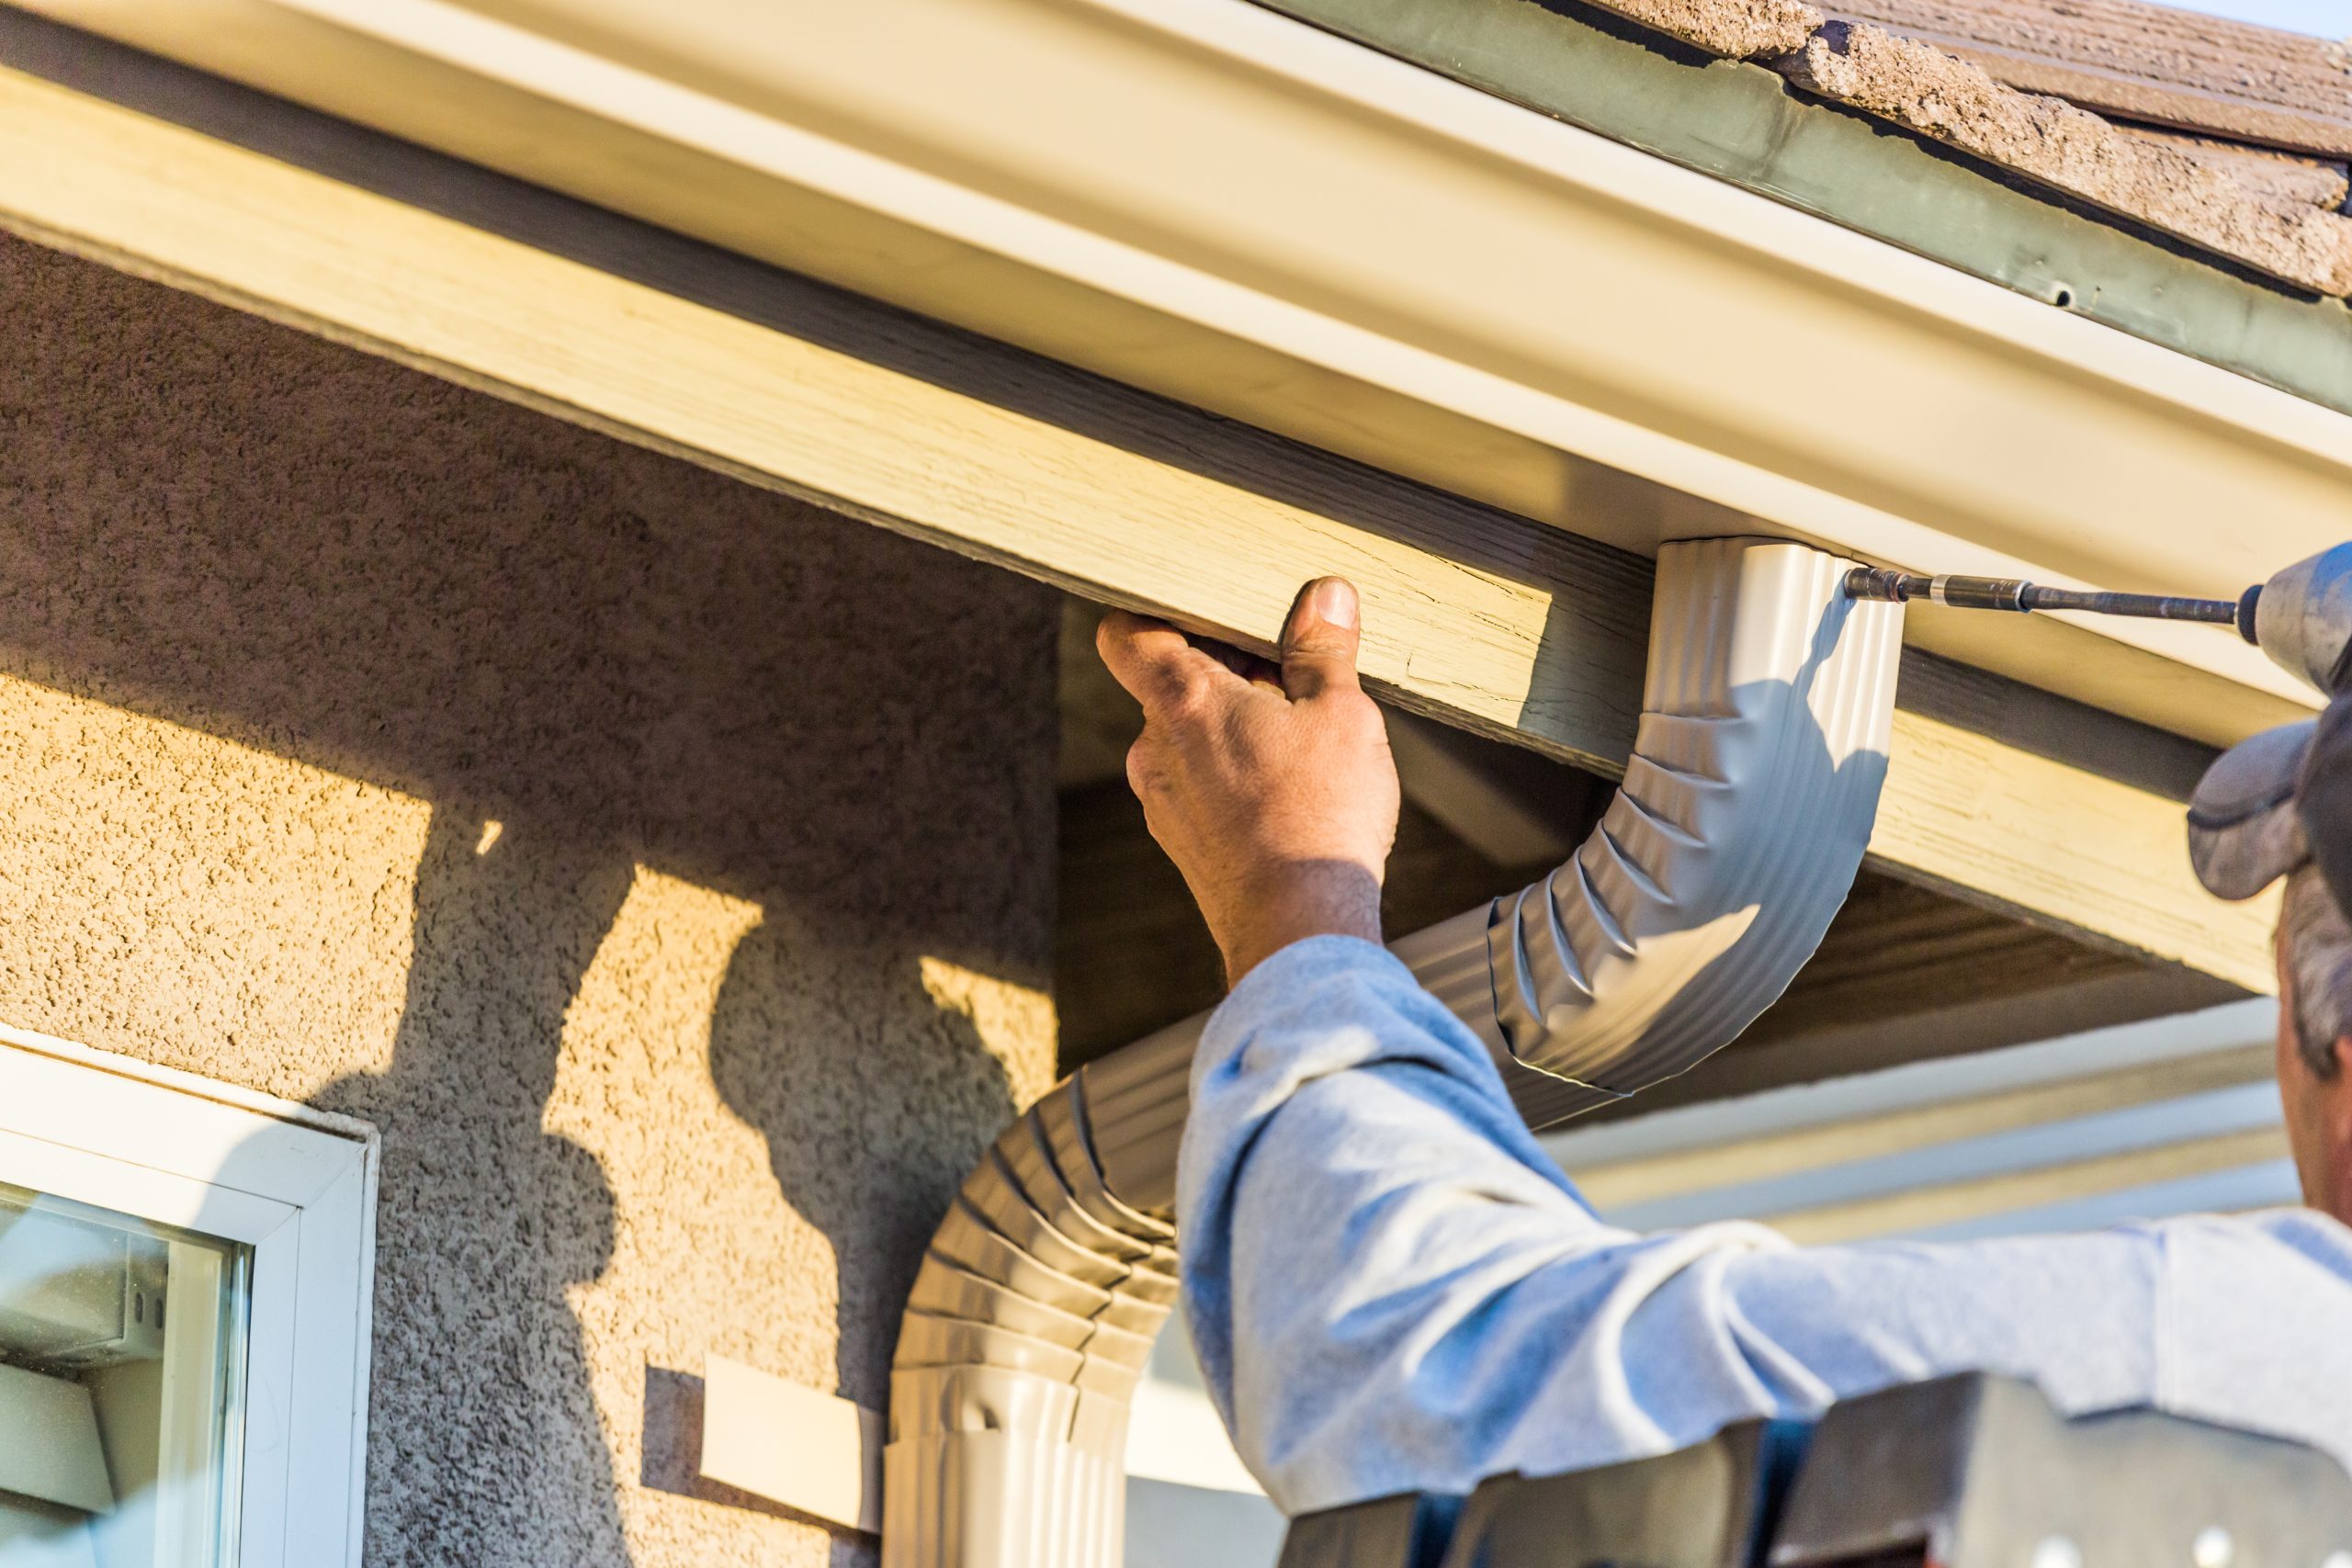
Once the roof deck is sound, installation of the new roofing system begins. This includes underlayment, flashing, ventilation components, and shingles or other selected materials.
Proper installation is critical for preventing leaks and extending roof lifespan. Each component works together as a system to protect the home from rain, wind, and moisture common in Eugene.
Step 6: Final Inspection and Quality Check
After installation is complete, a final inspection is performed. This ensures all materials are installed correctly, flashing is sealed properly, and ventilation meets requirements.
The contractor walks through the completed project and addresses any final questions. This step confirms the roof meets quality standards and manufacturer guidelines.
Step 7: Cleanup and Project Completion
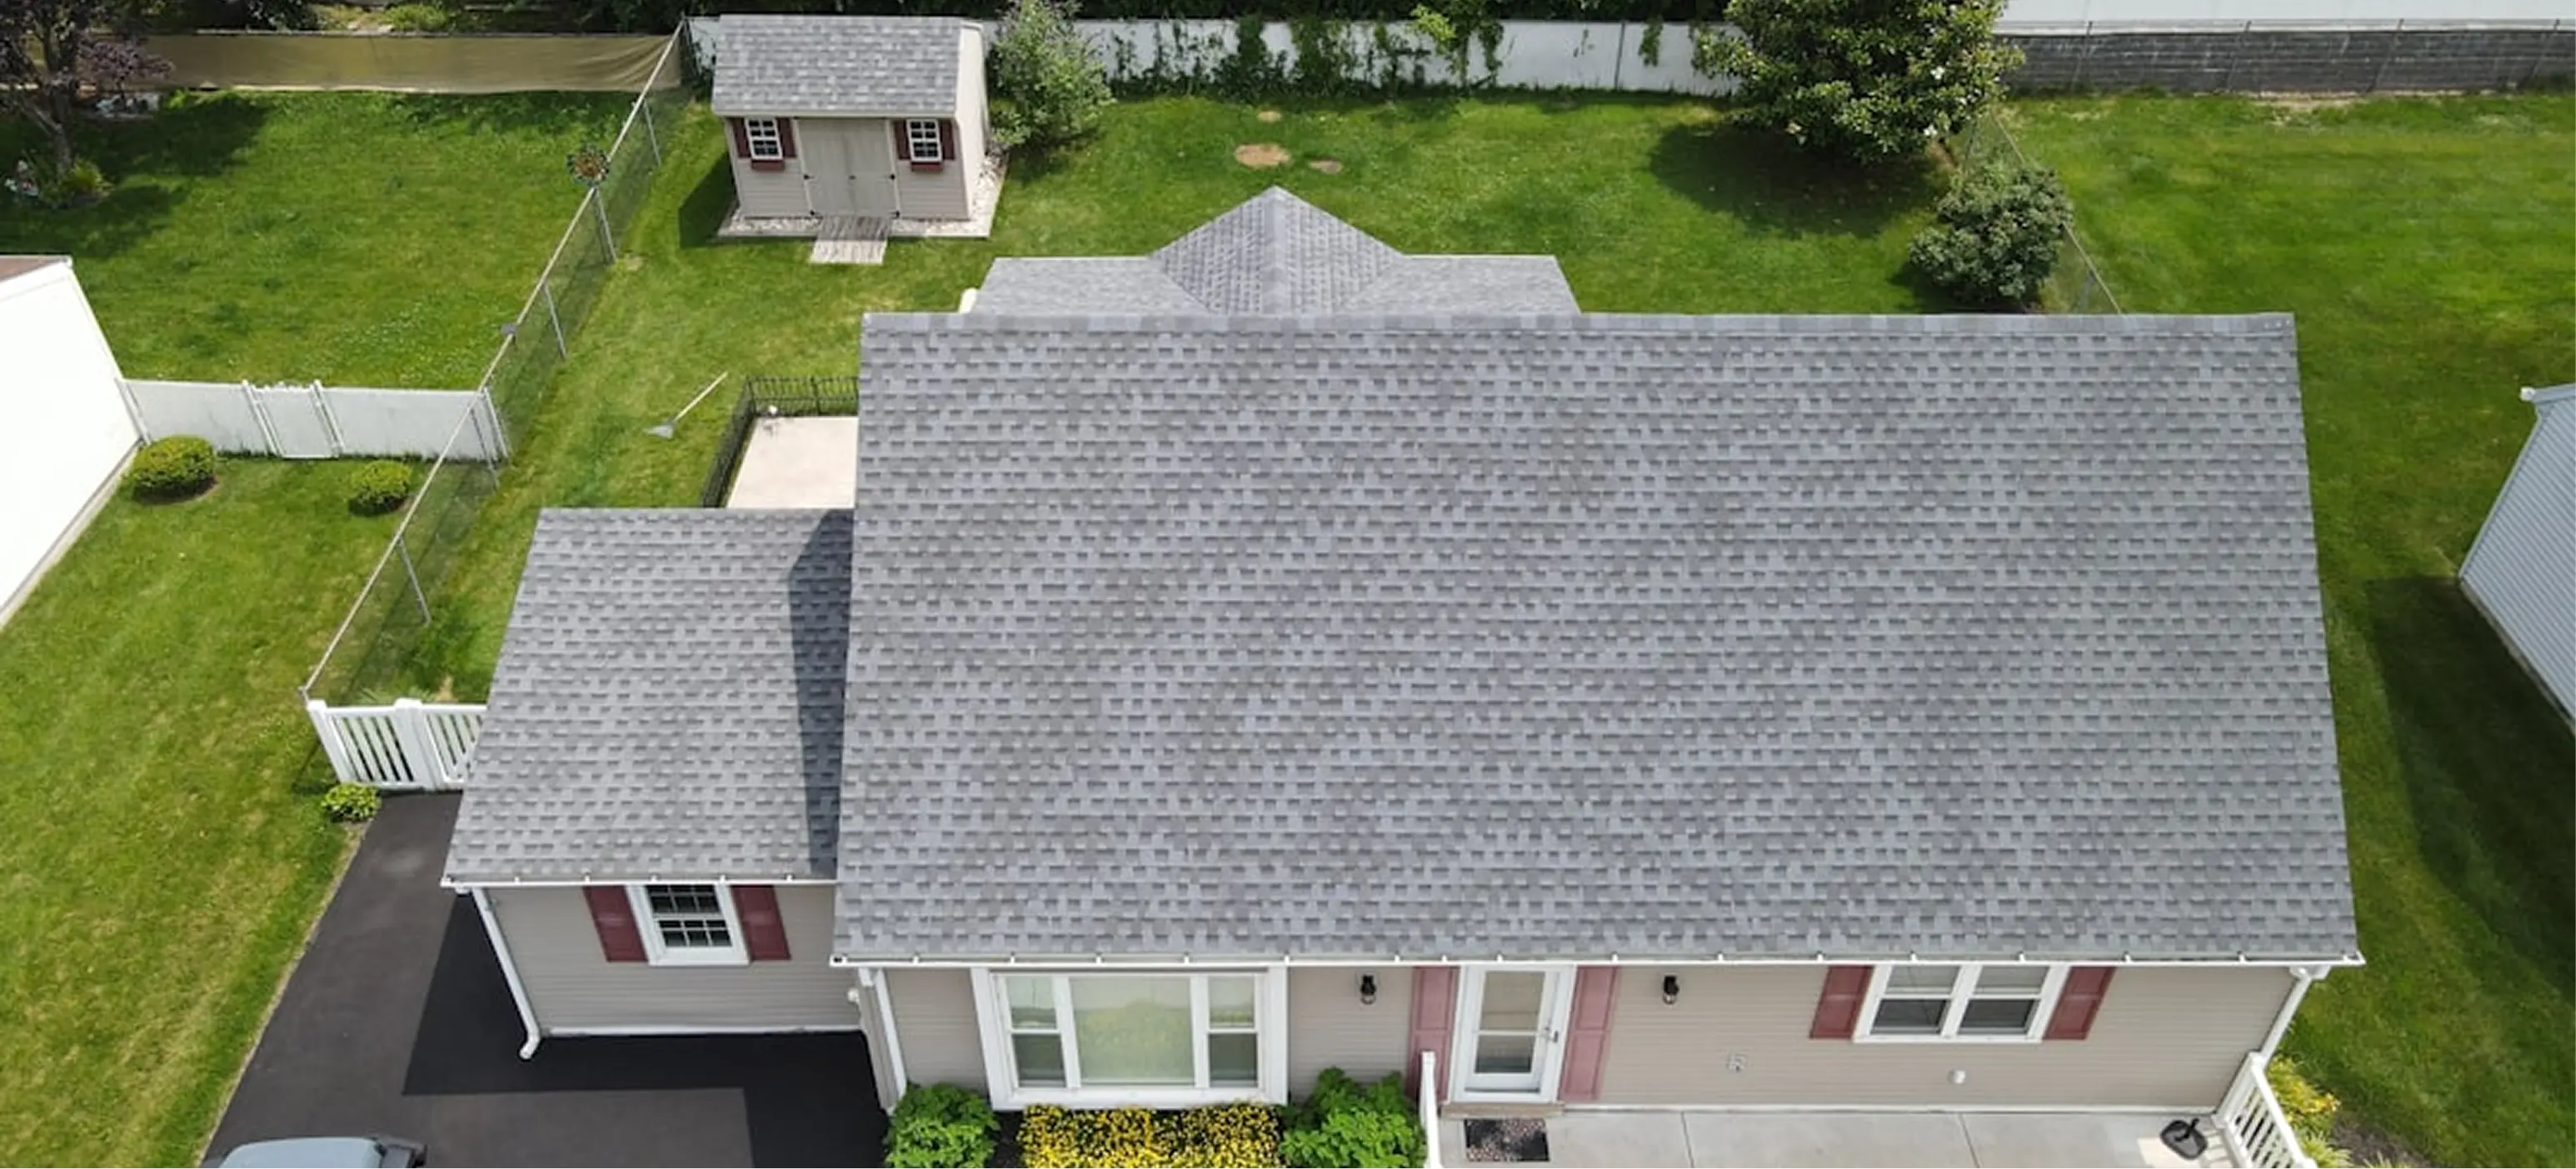
A professional roof replacement concludes with a full cleanup of the property. Debris is removed, magnets are used to collect nails, and the job site is left clean and safe.
Homeowners receive any warranty information and final documentation, marking the completion of the roof replacement process.
Conclusion: Understanding the Roof Replacement Process in Eugene Oregon
Understanding the step-by-step roof replacement process helps Eugene Oregon homeowners feel prepared and confident when replacing their roof. Knowing what to expect at each stage reduces stress and ensures the project runs smoothly.
If you are planning a roof replacement and want a clear, professional evaluation, you can request a free estimate by visiting our contact us page to schedule an inspection and discuss your roofing options.